Your Facebook cover photo is your virtual front door. It’s the first thing people see when they visit your profile, making it a crucial element in shaping their first impression of you or your brand. However, getting it just right can be a bit tricky.
In this step-by-step guide, you’ll learn how to resize Facebook cover photo to ensure it looks perfect and professional.
Step 1: Selecting the Right Image
Before we dive into resizing, make sure you have a high-quality image that represents you or your brand effectively. The ideal size for a Facebook cover photo is 820 pixels wide by 312 pixels tall. It’s worth noting that using an image larger than these dimensions can often yield even better results.
Step 2: Use a Reputable Photo Editing Tool
To resize your image, you’ll need a reliable photo editing tool. There are plenty of free options available online like Canva, Pixlr, or GIMP. If you prefer a mobile solution, apps like Adobe Spark Post or Pixlr Mobile are excellent choices.

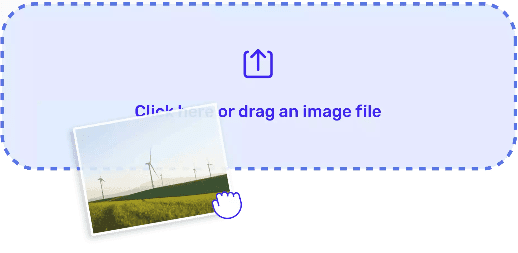
Step 3: Open and Upload Your Image
Launch your chosen editing tool and open the image you’d like to use as your cover photo. Make sure you’re working with a high-resolution version for the best results.
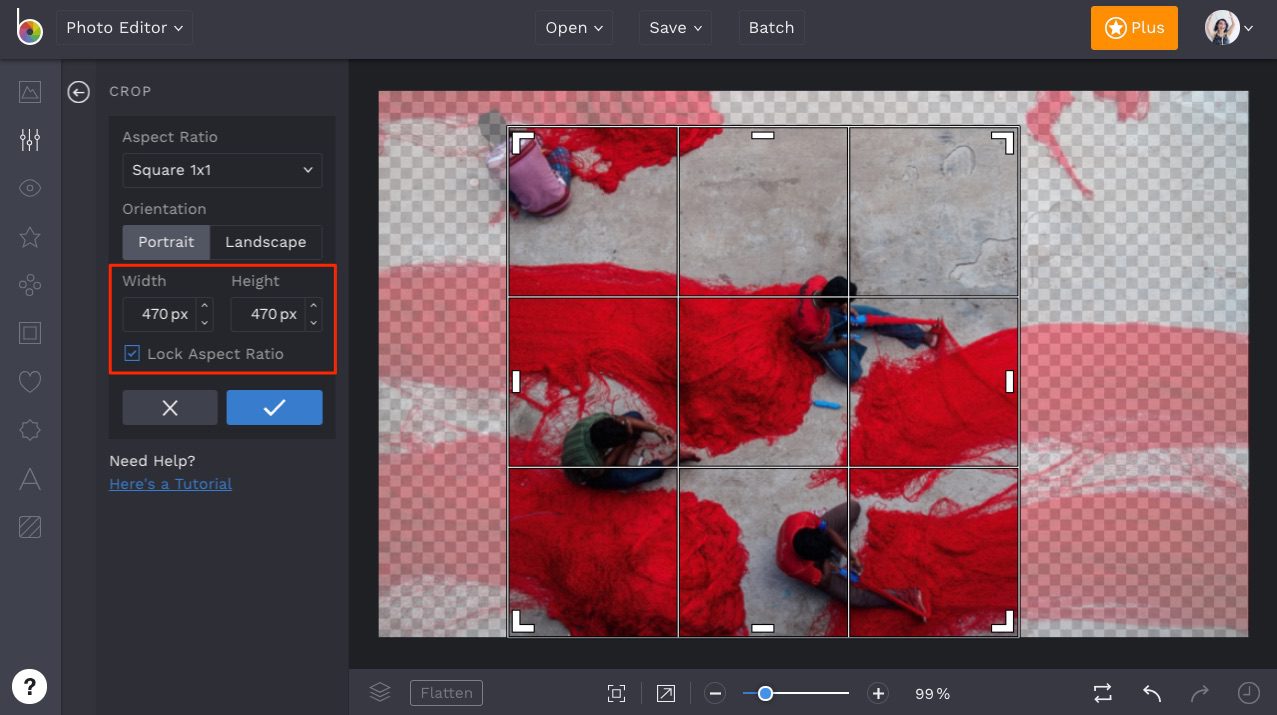
Step 4: Crop and Resize Facebook Cover Photo
Now comes the crucial step – resizing. In most photo editing tools, you can do this by selecting the “Resize” or “Crop” option. Set the dimensions to 820 pixels wide by 312 pixels tall. Be careful not to distort the image – maintaining the correct proportions is key.
Step 5: Position and Adjust
Position the image within the designated frame. Ensure the focal point of your image is well-centered and visible. Remember, your profile picture will overlay part of your cover photo, so keep this in mind when positioning.
Step 6: Save Your Work
Once you’re satisfied with the placement and size, save your edited image. Be sure to choose a high-quality format like JPEG or PNG to maintain the image’s clarity.
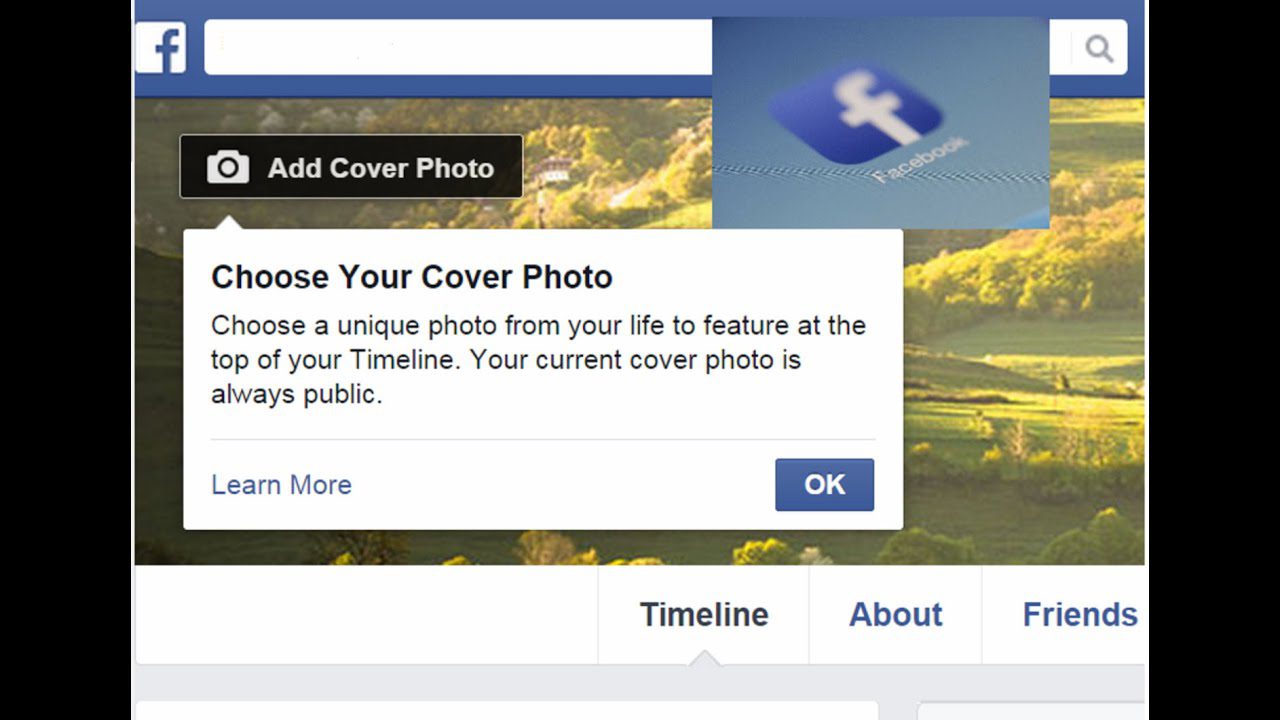
Step 7: Upload to Facebook
Now it’s time to upload your newly resized cover photo to Facebook. Head to your profile, hover over the existing cover photo, and select “Change Cover Photo.” Choose “Upload Photo” and select the edited image from your computer or device.
Step 8: Preview and Adjust (if necessary)
After uploading, Facebook will allow you to drag and reposition the image within the frame. Use this feature to make any final adjustments to ensure the cover photo looks exactly the way you want it to.
Step 9: Check on Different Devices
To ensure your cover photo looks great for all visitors, check how it appears on various devices (desktop, tablet, and mobile). Sometimes, the display may vary, so making sure it looks good everywhere is crucial.
Conclusion
Congratulations! You’ve successfully resized and uploaded your Facebook cover photo. Remember, your cover photo reflects you or your brand. Take the time to select an image that speaks to your audience. With these simple steps, you’ve now mastered the art of creating a professional and eye-catching first impression. You don’t need to find expert help to resize Facebook cover photos again.