Undoubtedly, creating a well-structured online image is key to succeed. The best and crucial of all is your image in your YouTube channel. Key to make your channel to stand out, is beautifully designed banner. But, designing a well-structured banner need a lot of creativity for all specified YouTube directives. This Article will delve in the best way to do a well-structured image banner without costing you much.
This Is How You resize image for YouTube banner free
Part one: Understanding the banner directives
when delving in working for your image, make sure you you’ve learned about the YouTube banner instructions, its gives strict image size of pixel 1440 by 2560. Make sure that this YouTube banner will be portrayed uniquely on various devices, but make sure you put the best of your content in the middle of your banner, this is the best area of visibility. By this dimension your banner will be outstanding.
Part Two: Select the best editing software
For the best resized photo, what you need is the best editing software. Source the best but free options which are readily available online which are easy to use, there are several free options available. There are many software’s choose the best and which you can understand well. By this you can become creative and bring the best out of it.
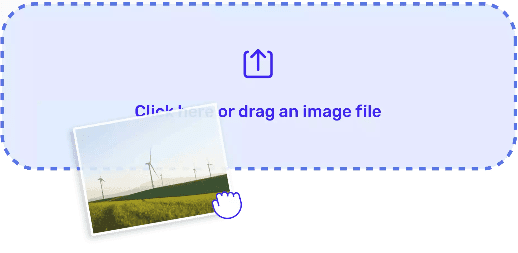
Part Three: Open your Photo
When you reach at this stage, open your software and open the file and select your photo, create a new design using the YouTube banner guidelines
Part Four: Edit Your Photo
Search Image or Photo and adjust as per guidelines which is width 2560 and height 1440 and make sure you stick to the guidelines strictly
Part Five :customizing And Editing
This stage is the most crucial one, be creative and make the best out of it. Your channel identity depends on this step, the best the creativity you can be the best YouTube banner you will get for your channel identity. you can add graphics and texts or even your channel tags. Make sure the make best out of software filters to Make your banner appealing.
Step Six: Save Your YouTube Banner
When you are satisfied with your editing, Click save then export to your preferred file format either PNG or JPEG and save it to your preferred folder in your computer.
Step 7: Uploading Your YouTube Banner
This is the final stage for uploading your edited and resized banner to your channel in YouTube. Sign and log into your YouTube channel, click the button namely “Customize Channel” and go to channel art, Browse to your banner from your computer folder and open it.
Congrats your newly perfectly resized banner is readily available to impress your viewers
Key Take Aways
As we conclude, having a creative banner doesn’t have to be with a lot of complications or with much cost, With right approach, knowledge and creativity you can resize your photo for absolutely free and enhance your channel visibility. With the right software and editing tool you can always create your own YouTube banner. Always make sure that the banner is in the channel theme and with this your channel will always be outstanding.