This feature batch resizing images allows you to crop all photos to a secure size and yield them at a convinced set of pixel magnitudes to generate the highest image excellence. So, it’s convenient when resizing numerous images and also, this can be a time-saving process as the images can be resized all at once. If you are looking forward to creating thumbnails for a gallery, fit images within specific dimensions, and also, optimize images for a website batch resizing images is the best option and can help you achieve your goal.
step-by-step guide
1. Organizing Your Images
It’s crucial for you to gather all the images you want to resize in a certain folder before starting the batch resizing process. Ensure you have a backup of the original images, as errors might occur and the resizing might permanently interfere with their scopes.
2. Choosing Your Resizing Tool
For batch resize images there are various software options available. The most popular include ImageMagick, IrfanView, Adobe Photoshop, and, GIMP. It’s important to choose the tool that you are comfortable with. On the same select the software option that suits your requirements and install it on your computer.
3. Opening the Batch Resize Images Tool
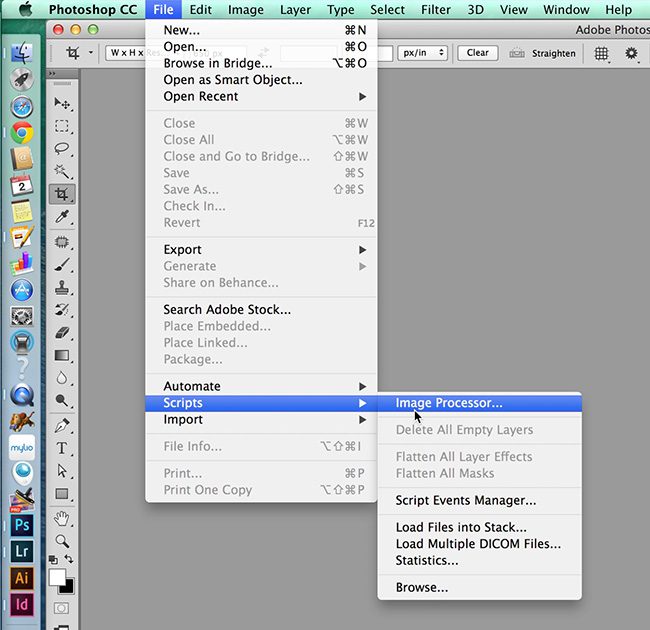
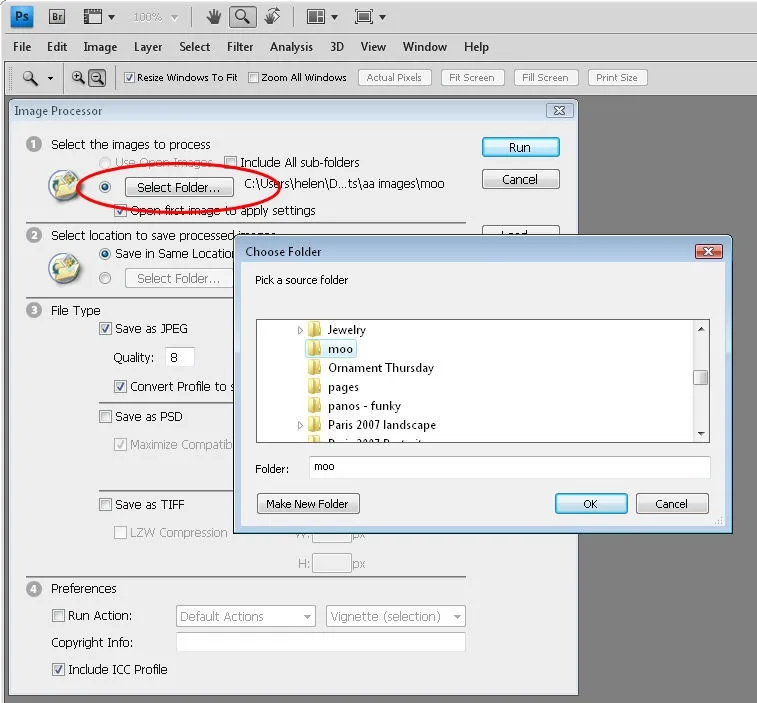
Since you have installed the software that you are familiar with, you are advised to launch and use it for batch resizing. Locate the batch resizing feature within the program, a good example is when using Photoshop you can locate it under the “File” menu, continue by selecting “Scripts” and choose “Image Processor.” In IrfanView, you can access batch resizing process by clunking on “File” and then picking “Batch Conversion/Rename.”
4. Selecting the Images
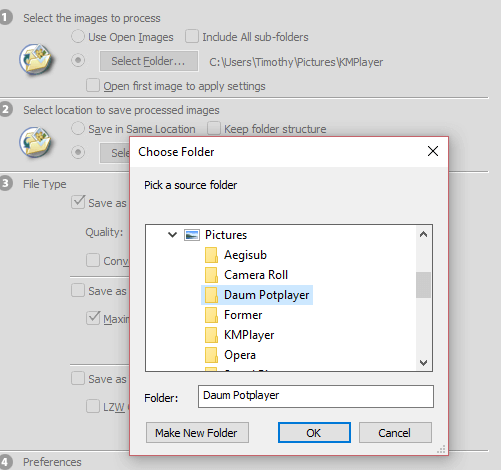
Depending on the tool you are using, you can either choose folders or individual images. So, within the batch resizing tool, navigate to the folder where you had organized your images. Make sure you select all the images you want to be resized.
5. Setting the Output Directory
The resized images will be required to be saved, and here you should designate a specific folder for them, as this helps you to distinguish the original and the resized images. Most batch resizing tools have an option to choose the output folder or directory.
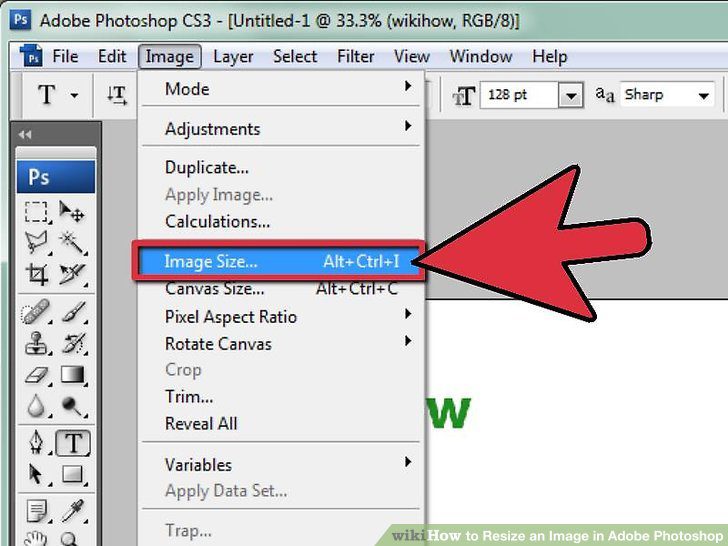
6. Configuring the Resizing Settings
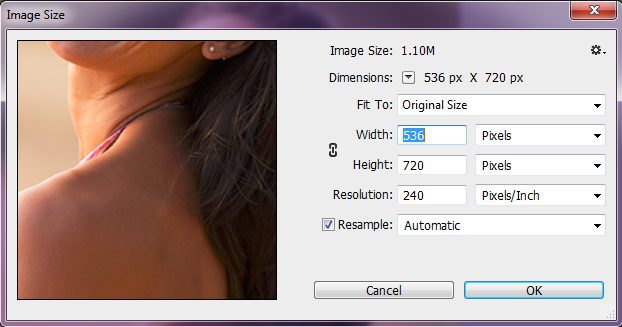
You are supposed to set the desired dimensions for your images. Contingent on the tool you are using, you can resize images through options like percentage, inches, and also, pixels. Guarantee to uphold the phase ratio to evade misrepresenting the metaphors. You may also adjust the image quality or compression settings if required.
7. Choosing the Output Format
File size and image quality matter a lot and you are advised to choose a format that suits you. Select the output format for your resized images, such as JPEG, PNG, or TIFF. If required you can apply some adjustments. Some tools offer additional editing options, these include cropping, adding of watermarks to the images, and rotating.
8. Starting the Batch Resizing Process
Take your time checking on all settings to ensure everything is set correctly. Once you are contented, click on the “Start” or “Process” button within the batch resizing tool to inductee the resizing process. The software will mechanically apply the resizing settings to each image in the batch as commanded.
9. Reviewing and Saving the Resized Images
It’s important to review the resized images after the resizing process is complete. Take some images randomly to make sure they meet your necessities. If every image looks good, save the resized images in the labeled output folder you generated.
In Conclusion
When dealing with a large number of images batch resizing images can significantly save your time and effort. Follow these steps, and you will be able to efficiently resize multiple images according to your desired dimensions. Remember to always keep a backup of the original images and regularly check the resized images to ensure they meet your desired output.