Resizing photos from your iPhone can be very useful: whether you want to save some space on the phone, share photos in social networks, or send them via email. Nevertheless, this process should be done while retaining the image quality. Here, we take you through a straightforward process of resizing photos on your iPhone without losing quality.
Resizing a Photo on iPhone
Do you know how to resize photo on iPhone? Well, here are critical steps to follow:

Step 1: Open the Photos App
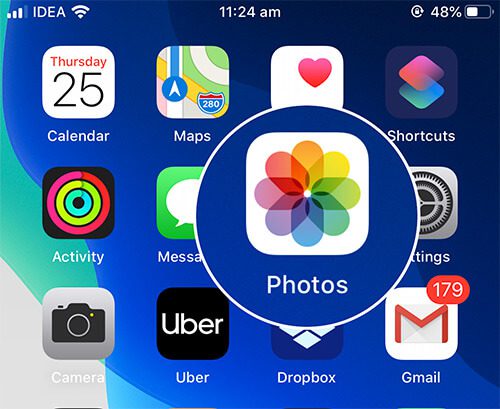
Start by unlocking your iPhone and opening the Photos app. You will find this app on your home screen; it looks like a multi-coloured flower.

Step 2: Select the Photo
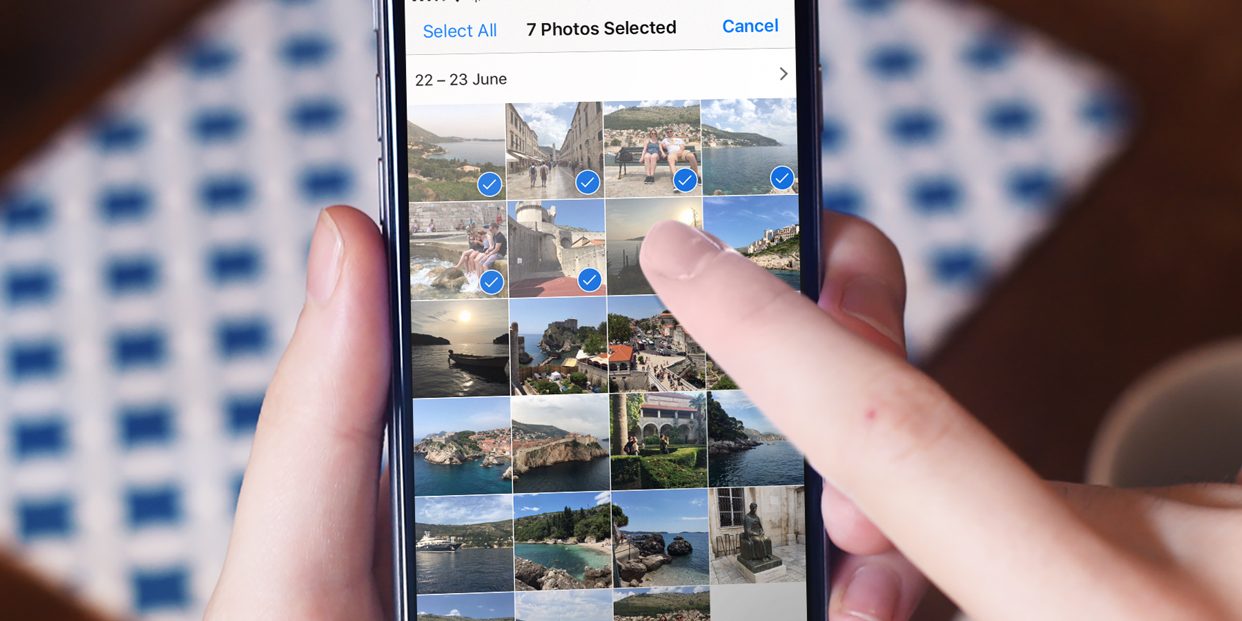
Browse through your photo albums and tap on the image you want to resize. This will open the photo.

Step 3: Tap Edit
In the lower-right corner of the photo, you’ll see an “Edit” button. Tap on it to access the editing tools.

Step 4: Crop the Photo
To resize the image, we’ll use the crop feature. In the editing menu, you’ll see a crop icon represented by two overlapping right angles. Tap on it.

Step 5: Adjust the Crop Box
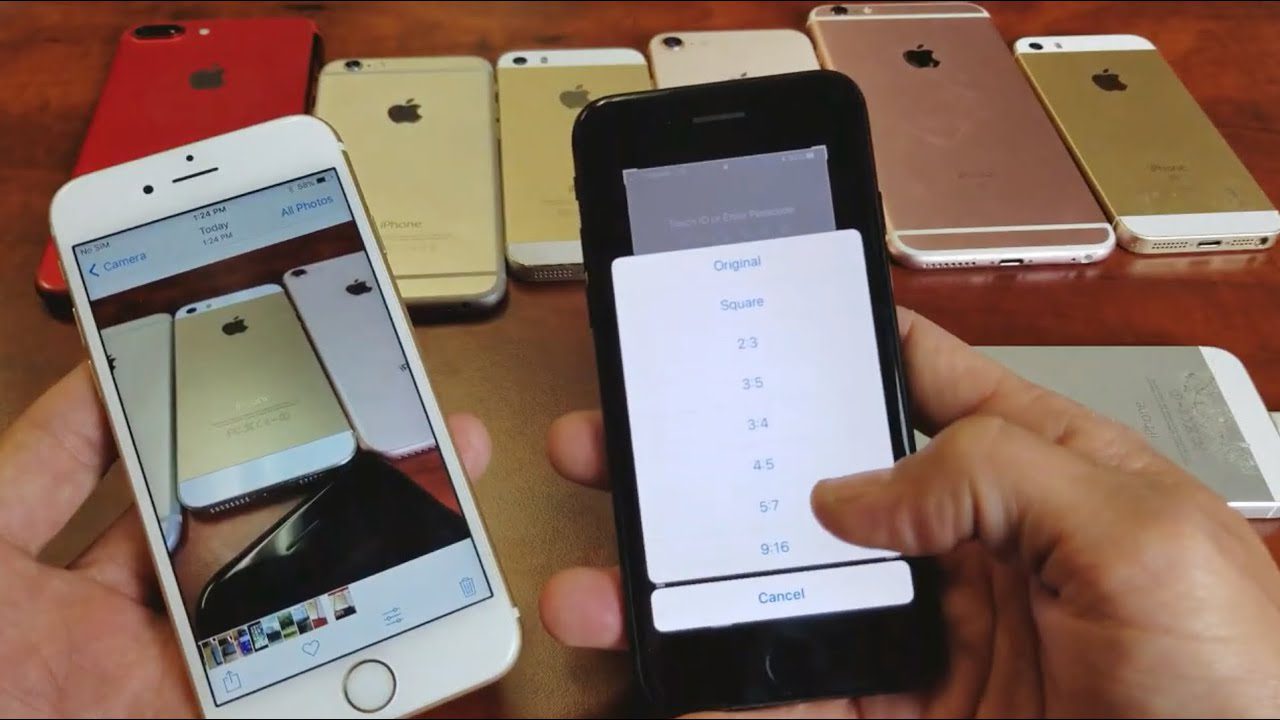
Once you’ve entered the crop mode, you’ll notice white handles around the photo. To resize the image, you can either pinch inwards or outwards using two fingers on the screen. Pinching inwards will reduce the photo’s size, while spreading your fingers apart will increase it. Make sure to adjust the image until you’re satisfied with the size.

Step 6: Maintain Aspect Ratio
It’s important to maintain the aspect ratio for the best results. To do this, tap on the padlock icon (usually located at the bottom or top of the screen, depending on your iPhone model). This ensures that when you resize the photo, it retains the same proportions.
Step 7: Confirm the Changes
Once you’ve adjusted the photo size and maintained the aspect ratio, tap “Done” in the bottom right corner to apply the changes.
Step 8: Save the Resized Photo
Now, the edited photo will take the place of the original in your Photos app. Tap “save as a copy” to save the resized image. Doing so also allows you to maintain the original photo.
Step 9: Check the Resized Photo
Upon saving the resized picture, have a quick look at it to see if the size is okay and the quality of the image remains intact.
Step 10: Resized photo—share it or use it.
That is it, you should be able to post, email, and do whatever with your resized photo. The small sized picture will also help conserve space in your iPhone for other applications.
Tips for Resizing Photos on iPhone
Here are great ideas to consider:
- Use Third-Party Apps: The built-in Photos app provides basic resizing capabilities, but there are several other third-party apps like Adobe Lightroom or Canva available on the App Store that offer better precision in terms of resizing.
- Maintain Image Quality: Rescaling or resizing is usually not a quality-sensitive process unless the reduction is drastic. To minimize this, ensure start with high-resolution images and never resize small.
- Check Resolution: Verify the resolution and dimensions so that you can resize the photo for printing, special print resolution or digital specific requirements.
- Keep the Original: Always resize the photo while trying to keep the original image intact by re-saving it as a copy. This way, you will be able to get back to a full-sized picture if required.
- Experiment and Learn: However, do not be shy to try out other image resizing techniques until you locate one that suits you well. You will become more competent at the process through learning by doing.
Final Thoughts
Definitely, enlarging pictures on your iPhone is simple, but it’s important to protect the image quality and ratio. Following this step-by-step guide will enable you to achieve the desired results and make your photos be versatile to be used in different applications. Resizing photos on your iPhone can be useful for different purposes such as sharing them on social media, emailing, or space-saving.


